
Hacking AWS Elastic Kubernetes Service: Join On-Premises Nodes and Save
December 1st, 2023 Learn how to connect on-premises nodes to Amazon EKS as your control plane. Covers concepts and first steps in provisioning.
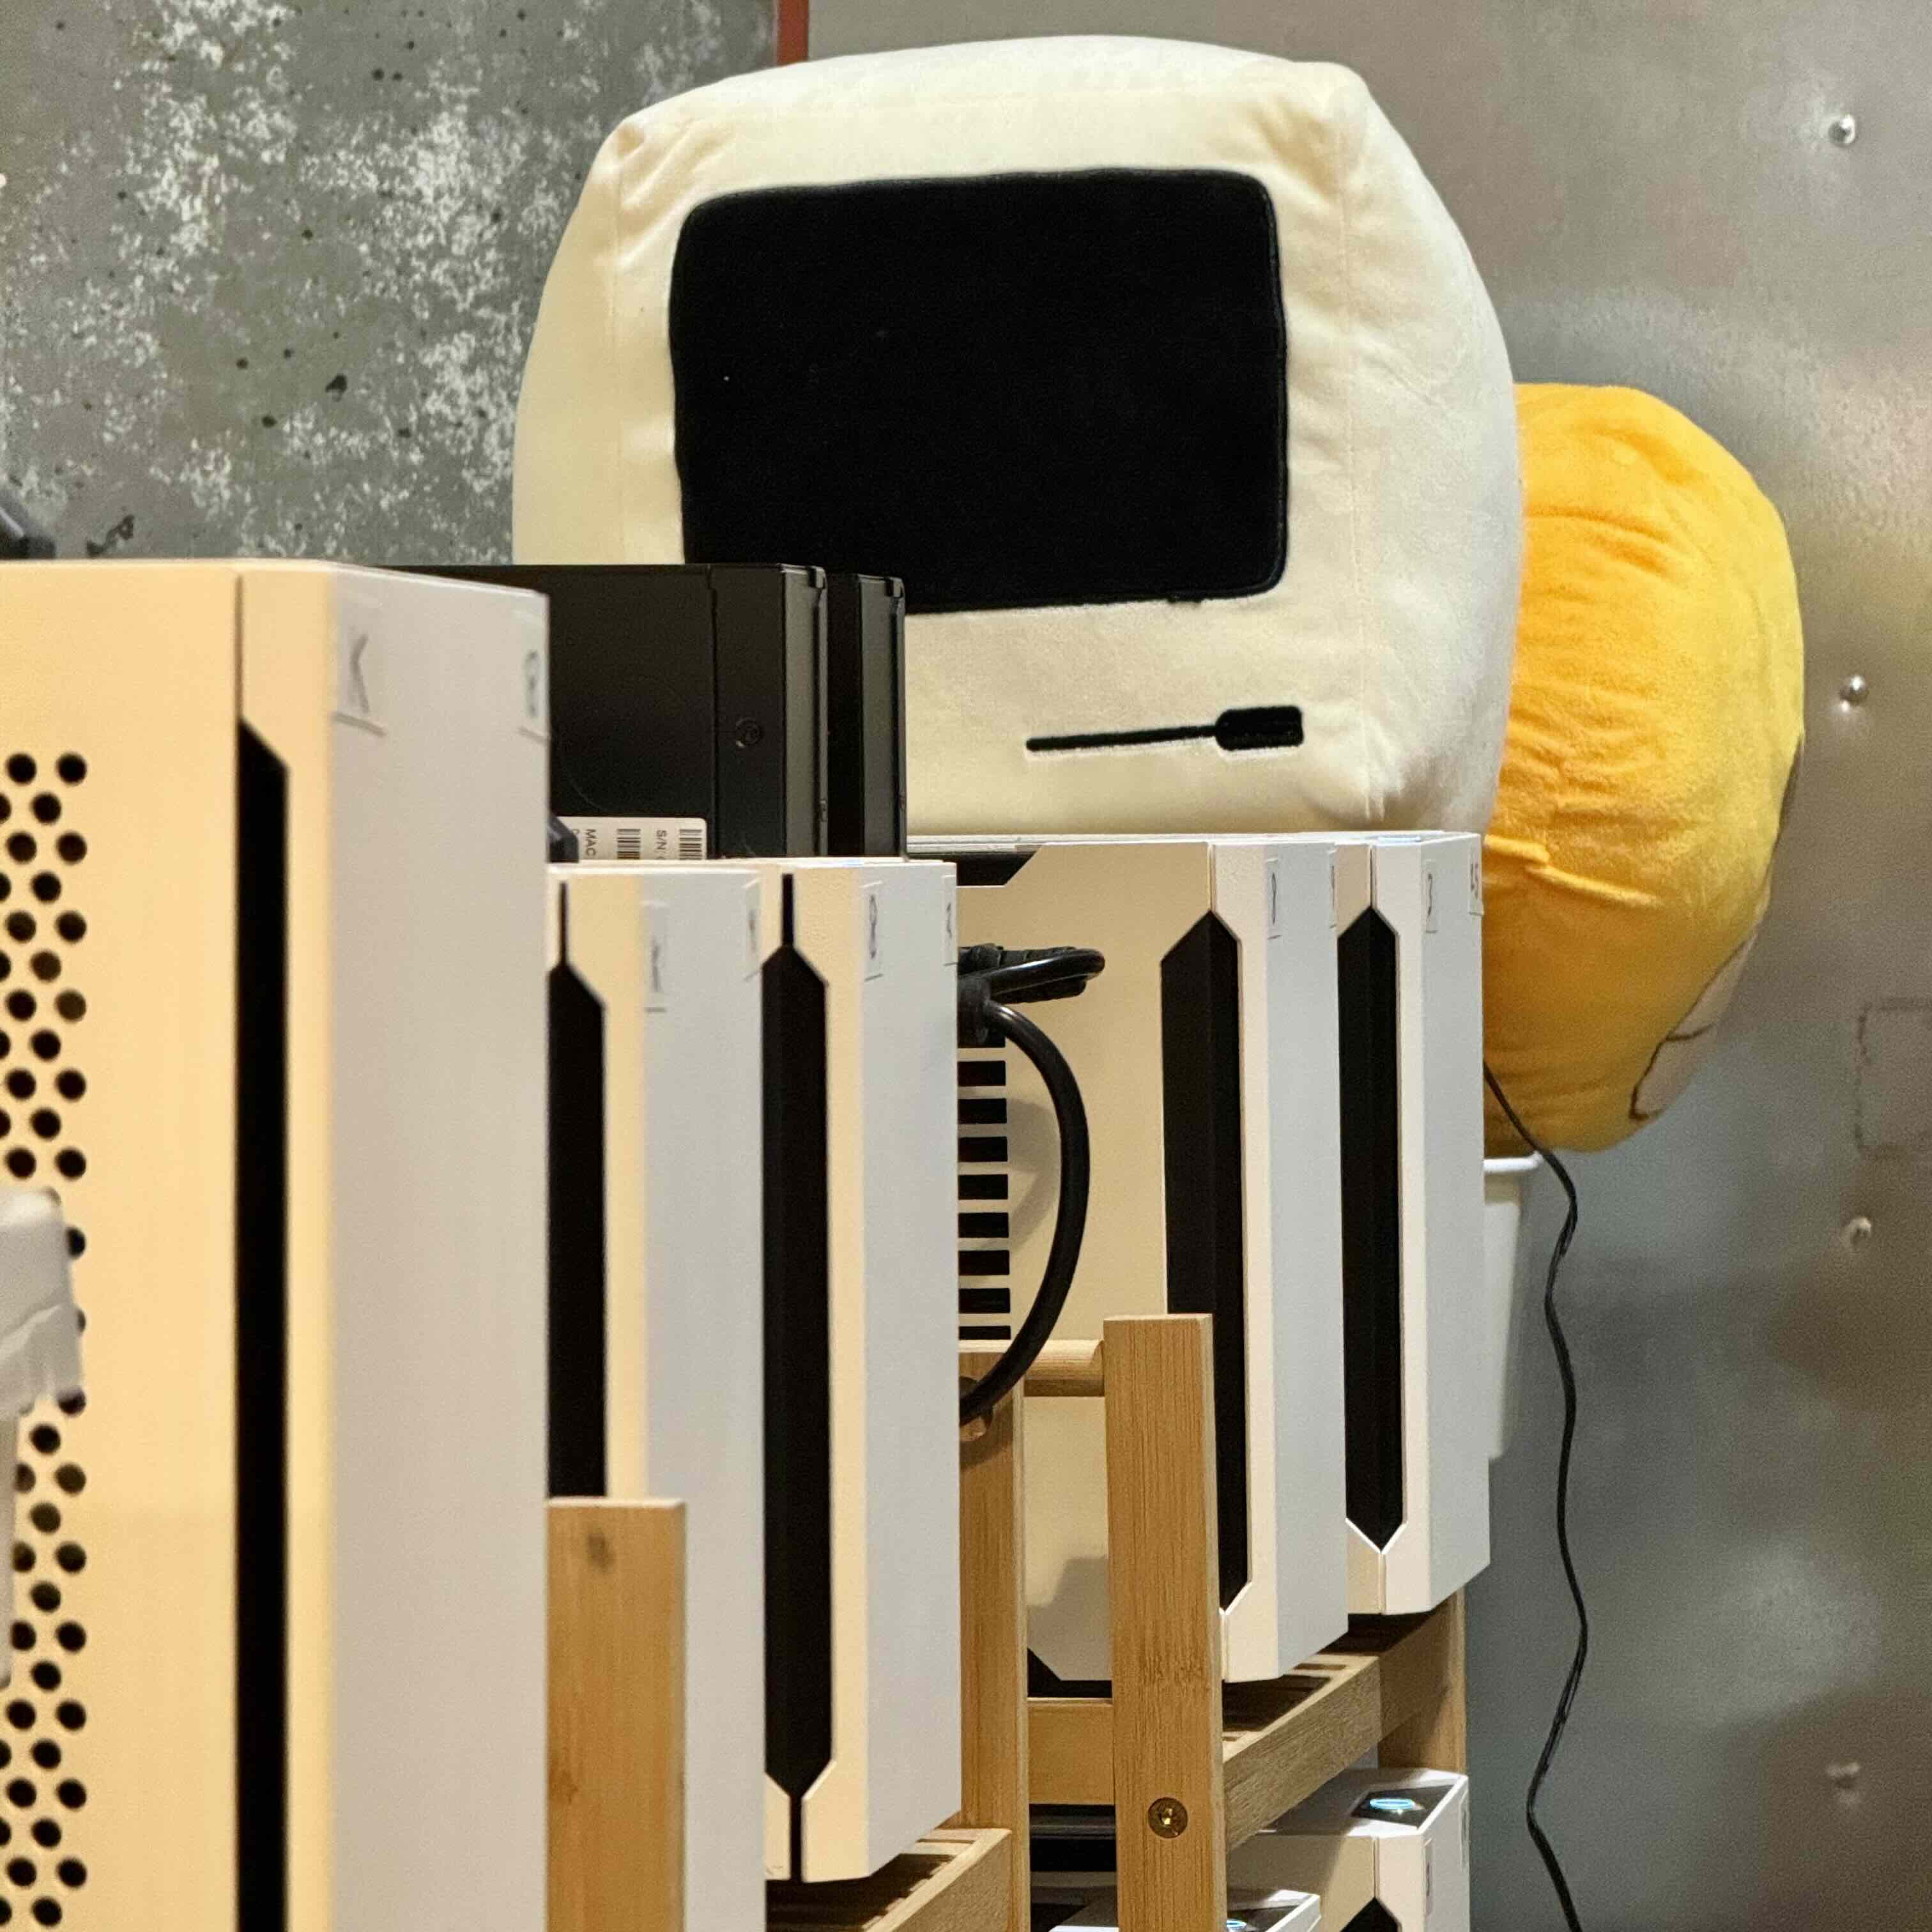
At AppMana, we experimented with many approaches to bridging local and vendor-supplied Kubernetes compute infrastructure. This documents our experience with connecting on-premises nodes to EKS. While it does not cover all the provsioning scripts and infrastructure we implemented, it is sufficient for a sophisticated user to connect to EKS.
As with all our blog posts, feel free to leave comments and feedback at https://github.com/AppMana/appmana-issues.
Getting Started
Integrating on-premises Kubernetes nodes with an existing AWS Elastic Kubernetes Service (EKS) cluster can be a complex task, but with the right steps, it's achievable. This guide will walk you through the process step by step on a macOS device.
1. Networking
Before beginning, ensure that your on-premises networking is properly configured and stable. This step is crucial for a successful integration.
The requirements for working Kubernetes are:
- Nodes must be able to reach each other over the network via IP addresses or hostnames with static IP address DNS resolutions. They should not be assigned dynamic DHCP addresses.
- The connection between a worker and the control plane must be relatively low latency and not lossy.
You can easily test if your networking is valid by pinging all the host IP addresses and exact hostnames as they will
appear in kubectl get nodes from each worker you plan to add.
2. Create a cluster with eksctl
Create a cluster using eksctl and an associated configuration file. Here's an example:
---
apiVersion: eksctl.io/v1alpha5
kind: ClusterConfig
metadata:
  name: cluster-1
  region: us-west-2
nodeGroups:
  - name: ng-1
    instanceType: m5.large
    desiredCapacity: 1
This cluster should be created with eksctl create cluster -f config.yaml.
3. Peer Your Networks
Use an L2TP bridge, such as an AWS VPN Gateway, to peer your on-premises machines with the AWS Virtual Private Cloud ( VPC). This step is essential for creating a network connection between your on-premises nodes and the AWS cloud.
There are many ways to achieve this. At a high level, you will create a Customer VPN Gateway, a Virtual private
gateway and a Site-to-Site VPN connection (sometimes simply a "VPN Connection") in the AWS console or using the
CLI. You can
use aws ec2 get-vpn-connection-device-sample-configuration
to download a configuration file for your networking hardware to establish the site to site connection.
This configuration will establish an L2TP tunnel. A common pain point is that you use a router, like a Mikrotik, that does not support tunnel failover, which happens often. I recommend VyOS. In order to make the on-premises nodes reachable to AWS and vice-versa, the configuration uses BGP to advertise the reachable subnets to the connected networks (yours and AWS VPC). On your side, you must configure your router to actually use the BGP routes that AWS gives you, which it will do by default for VyOS / Vyatta and is typically included in the other configuration options. On AWS's side, enable Route Propagation on the subnets associated with your VPC. This will allow it to reach your nodes based on information your router advertises.
If you use Calico, you will later advertise its BGP peers with your router.
This snippet of code will create the gateway for you, configure the subnets with route propagation, disable source/destination checks on the EKS ENIs representing the connection between Amazon's control plane and your VPC (and essentially your on-premises network), and return the configuration for your router. Alternatively, use Pulumi, CloudFormation, Terraform or similar to maintain your VPN connection.
import boto3
import re
import argparse


def create_vpn_connection(cluster_name, customer_vpn_ip, router='vyatta', on_premises_bgp_asn=65000):
    ec2 = boto3.client('ec2')
    eks = boto3.client('eks')

    cluster_info = eks.describe_cluster(name=cluster_name)
    vpc_id = cluster_info['cluster']['resourcesVpcConfig']['vpcId']

    vpn_gateways = ec2.describe_vpn_gateways(Filters=[{'Name': 'attachment.vpc-id', 'Values': [vpc_id]}])
    if vpn_gateways['VpnGateways']:
        vpn_gateway_id = vpn_gateways['VpnGateways'][0]['VpnGatewayId']
    else:
        vpn_gateway = ec2.create_vpn_gateway(Type='ipsec.1')
        vpn_gateway_id = vpn_gateway['VpnGateway']['VpnGatewayId']
        ec2.attach_vpn_gateway(VpcId=vpc_id, VpnGatewayId=vpn_gateway_id)

    customer_gateways = ec2.describe_customer_gateways(Filters=[{'Name': 'ip-address', 'Values': [customer_vpn_ip]}])
    if customer_gateways['CustomerGateways']:
        customer_gateway_id = customer_gateways['CustomerGateways'][0]['CustomerGatewayId']
    else:
        customer_gateway = ec2.create_customer_gateway(Type='ipsec.1', PublicIp=customer_vpn_ip,
                                                       BgpAsn=str(on_premises_bgp_asn))
        customer_gateway_id = customer_gateway['CustomerGateway']['CustomerGatewayId']

    route_tables = ec2.describe_route_tables(Filters=[{'Name': 'vpc-id', 'Values': [vpc_id]}])
    for route_table in route_tables['RouteTables']:
        ec2.enable_vgw_route_propagation(RouteTableId=route_table['RouteTableId'], GatewayId=vpn_gateway_id)

    enis = ec2.describe_network_interfaces(
        Filters=[{'Name': 'vpc-id', 'Values': [vpc_id]}, {'Name': 'description', 'Values': ['*Amazon EKS*']}])
    for eni in enis['NetworkInterfaces']:
        if 'Amazon EKS' in eni.get('Description', ''):
            ec2.modify_network_interface_attribute(NetworkInterfaceId=eni['NetworkInterfaceId'],
                                                   SourceDestCheck={'Value': False})

    vpn_connections = ec2.describe_vpn_connections(Filters=[
        {'Name': 'vpn-gateway-id', 'Values': [vpn_gateway_id]},
        {'Name': 'customer-gateway-id', 'Values': [customer_gateway_id]}
    ])

    if vpn_connections['VpnConnections']:
        vpn_connection_id = vpn_connections['VpnConnections'][0]['VpnConnectionId']
    else:
        vpn_connection = ec2.create_vpn_connection(Type='ipsec.1', CustomerGatewayId=customer_gateway_id,
                                                   VpnGatewayId=vpn_gateway_id)
        vpn_connection_id = vpn_connection['VpnConnection']['VpnConnectionId']

    device_types = ec2.get_vpn_connection_device_types()
    router_device_types = [device['VpnConnectionDeviceTypeId'] for device in device_types['VpnConnectionDeviceTypes'] if
                           re.search(router, device['Vendor'], re.IGNORECASE) or re.search(router, device['Platform'],
                                                                                           re.IGNORECASE)]

    configurations = []
    for device_type_id in router_device_types:
        config = ec2.get_vpn_connection_device_sample_configuration(VpnConnectionId=vpn_connection_id,
                                                                    VpnConnectionDeviceTypeId=device_type_id)
        configurations.append(config['VpnConnectionDeviceSampleConfiguration'])

    return configurations


def main():
    parser = argparse.ArgumentParser(
        description='Create a VPN connection for an AWS EKS cluster with a specified router.')
    parser.add_argument('cluster_name', type=str, help='Name of the EKS cluster')
    parser.add_argument('customer_vpn_ip', type=str, help='IP address of the customer VPN')
    parser.add_argument('--router', type=str, default='vyatta', help='Type of the router (default: vyatta)')
    parser.add_argument('--on_premises_bgp_asn', type=int, default=65000,
                        help='BGP ASN for the on-premises network (default: 65000)')

    args = parser.parse_args()

    configs = create_vpn_connection(args.cluster_name, args.customer_vpn_ip, args.router, args.on_premises_bgp_asn)
    for config in configs:
        print(config)


if __name__ == '__main__':
    main()
Enabling route propagation can have surprising consequences. The VPC may appear to be unable to reach your WAN address, due to misconfigurations from your network such as using hairpin NAT. If you experience connectivity issues, disable route propagation first before disabling the VPN connection. You may have to modify the route table in AWS or your network.
5. Choose a Container Network Interface (CNI)
I recommend using Calico as your CNI. When deploying it, typically via DaemonSets, use label selectors to only deploy
it on your on-premises hosts. At this stage, you will not have your Calico CNI deployed anywhere.
Follow the documentation from https://docs.tigera.io/calico/latest/getting-started/kubernetes/hardway/install-node to
install the Calico manifests, and ensure the node selector will target nodes labeled with on-premises or similar.
6. Create a Dummy EKS Node
Create a dummy EKS node using the smallest possible VM type in a non-auto-scaling group. You can stop this node, but do
not terminate it. The purpose of this node is to trick AWS cloud-manager, the process running on AWS's control plane,
into admitting your on-premises nodes into EKS. The core code
appears here.
A valid instance will pass all the cehcks.
7. Prepare Worker Node Prerequisites
To join a worker node, prepare the necessary prerequisites. This process does not significantly interact with microk8s
or other Kubernetes distributions.
A worker node essentially requires kubelet, a kubeconfig with a user capable of creating node objects, and a working
container runtime like containerd. On Linux, this is as simple as declaring systemd units (i.e., services)
for kubelet and containerd downloaded directly from their respective repositories. The arguments for the kubelet
Enabling Nodes to Join the Cluster
Each node will need permissions for the user account that Kubernetes creates for it in
the aws-auth ConfigMap in order to joint eh cluster. For example, the node my-node-1 will have a user
account system:node:my-node-1, which must be added to aws-auth with the appropriate permissions. These entries
permit the node to authenticate with EKS's endpoint. The resource should look like this for the node my-node-1:
apiVersion: v1
kind: ConfigMap
metadata:
  name: aws-auth
  namespace: kube-system
  # todo: flux merging can be removed if you do not use it
  annotations:
    kustomize.toolkit.fluxcd.io/prune: disabled
    kustomize.toolkit.fluxcd.io/ssa: merge
data:
  mapRoles: |
    # this is the default role
    - groups:
      - system:bootstrappers
      - system:nodes
      # todo: this must be your actual role arn that eksctl created. fetch aws-auth to examine it first
      rolearn: arn:aws:iam::270611111111:role/eksctl-cluster-1-NodeInstanceRole-17R2AAAAAAAAA
      username: system:node:{{EC2PrivateDNSName}}
    # todo: this is the one you are adding
    - rolearn: arn:aws:iam::270611111111:role/eksctl-cluster-1-NodeInstanceRole-17R2AAAAAAAAA
      username: system:node:my-node-1
      groups:
        - system:bootstrappers
        - system:nodes
        # if these are on-premises windows nodes, you will need the permission for kube-proxy-windows too
        - eks:kube-proxy-windows
  mapUsers: |
    []
Option 1: Use the cluster-admin configuration
The kubeconfig can be the same as your cluster-admin config, which naturally had permission to create nodes. This
will allow users with access to the host to perform actions as the cluster administrator, which is not desirable.
Option 2: Create a bootstrapping configuration
You can create the bootstrapping kubeconfig using:
openssl genrsa -out my-node-1.key 2048
openssl req -new -key my-node-1.key -out my-node-1.csr -subj "/CN=system:node:my-node-1/O=system:nodes"

CSR_VALUE=$(cat my-node-1.csr | base64 | tr -d '\n') \
  && kubectl apply -f - << EOF
apiVersion: certificates.k8s.io/v1
kind: CertificateSigningRequest
metadata:
  name: my-node-1
spec:
  request: ${CSR_VALUE}
  signerName: kubernetes.io/kubelet-serving
  usages:
  - digital signature
  - key encipherment
  - server auth
EOF

kubectl certificate approve my-node-1
kubectl get csr my-node-1 -o jsonpath='{.status.certificate}' | base64 --decode > my-node-1.crt
The kubeconfig should have your public EKS endpoint (for publicly reachable clusters) or your private address.
8. Set the Provider ID
Set the --provider-id kubelet argument to the value reported by your dummy EKS node. You can do this in the kubelet'
s launch arguments or node configuration that matches a pre-existing instance in your cluster,
like --provider-id=aws:///us-west-2d/i-0fa4ffffff92e982d.
Caveat: You can perform this step with a pre-existing node. However, be aware that if this node is terminated for
any reason, your on-premises nodes may struggle to reconnect due to transient network errors. This depends on the
evolution of aws-cloud-manager.
9. Install and Configure Calico
Install Calico using the Tigera operator. Use a nodeSelector for the on-premises nodes.
Then, Calico should safely and adequately deploy in VXLan mode on your on-premises nodes. This configuration does not interact with your network's BGP configuration. Consequently, the AWS control plane will be unable to reach the pods on your on-premises nodes, so you will not be able to retrieve logs or metrics. However, pods will still schedule and work normally. You must use BGP for Calico to make your pods reachable to the EKS control plane.
Once you have modified your Calico DaemonSet to use BGP instead of VXLan, here are example manifests for Flux
configuring Calico for BGP. Study these manifests closely, because they require configuration for your specific
networking situation.
---
# todo: you may need to change the crd version
apiVersion: crd.projectcalico.org/v1
kind: BGPConfiguration
metadata:
  namespace: kube-system
  name: default
  # todo: you can remove these annotations if you do not use flux
  annotations:
    kustomize.toolkit.fluxcd.io/ssa: merge
spec:
  asNumber: 65414
  serviceClusterIPs:
    # todo: this should be your cluster service CIDR
    - cidr: 10.152.184.0/24
---
# this is a sample configuration for an ip pool, replacing your existing one, that operates as BGP
apiVersion: crd.projectcalico.org/v1
kind: IPPool
metadata:
  name: default-ipv4-ippool
  namespace: kube-system
  annotations:
    kustomize.toolkit.fluxcd.io/ssa: merge
spec:
  allowedUses:
    - Workload
    - Tunnel
  blockSize: 26
  # todo: this should be your pod CIDR
  cidr: 10.1.2.0/16
  ipipMode: Never
  natOutgoing: true
  nodeSelector: all()
  vxlanMode: Never
---
# todo: these policies must make sense for your org
apiVersion: crd.projectcalico.org/v1
kind: GlobalNetworkPolicy
metadata:
  name: default-allow
spec:
  selector: all()
  types:
    - Ingress
    - Egress
  egress:
    - action: Allow
  ingress:
    - action: Allow
---
apiVersion: crd.projectcalico.org/v1
kind: GlobalNetworkPolicy
metadata:
  name: default-icmp-allow
spec:
  selector: all()
  types:
    - Ingress
    - Egress
  egress:
    - action: Allow
      protocol: ICMP
    - action: Allow
      protocol: ICMPv6
  ingress:
    - action: Allow
      protocol: ICMP
    - action: Allow
      protocol: ICMPv6
---
apiVersion: crd.projectcalico.org/v1
kind: GlobalNetworkPolicy
metadata:
  name: default-tcp-udp-allow
spec:
  selector: all()
  types:
    - Ingress
    - Egress
  egress:
    - action: Allow
      protocol: UDP
    - action: Allow
      protocol: TCP
  ingress:
    - action: Allow
      protocol: UDP
    - action: Allow
      protocol: TCP
---
# this peering allows pod-to-EKS and vice versa connectivity, so long as propagate route tables is enabled
apiVersion: crd.projectcalico.org/v1
kind: BGPPeer
metadata:
  namespace: kube-system
  name: on-premises-router
spec:
  # todo: this must match your gateway IP aka your router's IP address from the POV of your on premises workers
  peerIP: 10.1.1.1
  asNumber: 65000
  keepOriginalNextHop: true
Once Calico is operating in BGP mode, you must also modify your routing configuration in your on-premises network to peer with the Calico nodes (i.e., your worker hosts). Use the remote ASN configured in Calico, and add at least one worker node as a peer. It is best to add all of the nodes for full mesh advertising.
This VyOS configuration is a valid example for peering your VyOS router to a Calico-powered on-premises worker with IP address 10.1.1.10:
protocols {
  bgp 65000 {
  ...
    neighbor 10.1.1.10 {
        peer-group calico
        remote-as 65414
    }
    parameters {
        distance {
            global {
                external 200
                internal 20
                local 1
            }
        }
    }
    peer-group calico {
        address-family {
            ipv4-unicast {
                soft-reconfiguration {
                    inbound
                }
            }
        }
    }
    ...
  }
}
At this stage, you will have a worker joined to EKS.
Limitations
Until you set up Calico BGP and enable route propagation, EKS control plane cannot reach on-premises pods. This means
that kubectl logs, kubectl exec, kubectl top, metrics, and the pod autoscalers (horizontal and vertical) will not
work until you make a sophisticated Calico configuration.
Choose Networking Gear Wisely
When peering your network with Amazon, select networking gear that supports Amazon's built-in networking configuration. Vyatta is supported, so you can use VyOS for basic networks. I advise against using MikroTik, as it requires writing your own L2TP tunnel failover script. AWS's VPN tunnels failover frequently. For more advanced applications, consider investing in robust networking hardware.
Following these steps carefully should enable a smooth integration of your on-premises Kubernetes nodes with an AWS EKS cluster. Remember, each step is crucial for the overall success of the integration, and choosing the right hardware and configurations will save you a lot of trouble in the long run.
Deploy in minutes
Get started with your agent
Paste this into your coding agent. With these instructions, it can configure your Unity project and get you streaming in minutes.
For this session, read appmana.com/llms.txt for instructions on how to add your Unity project to be built and streamed automatically on AppMana.